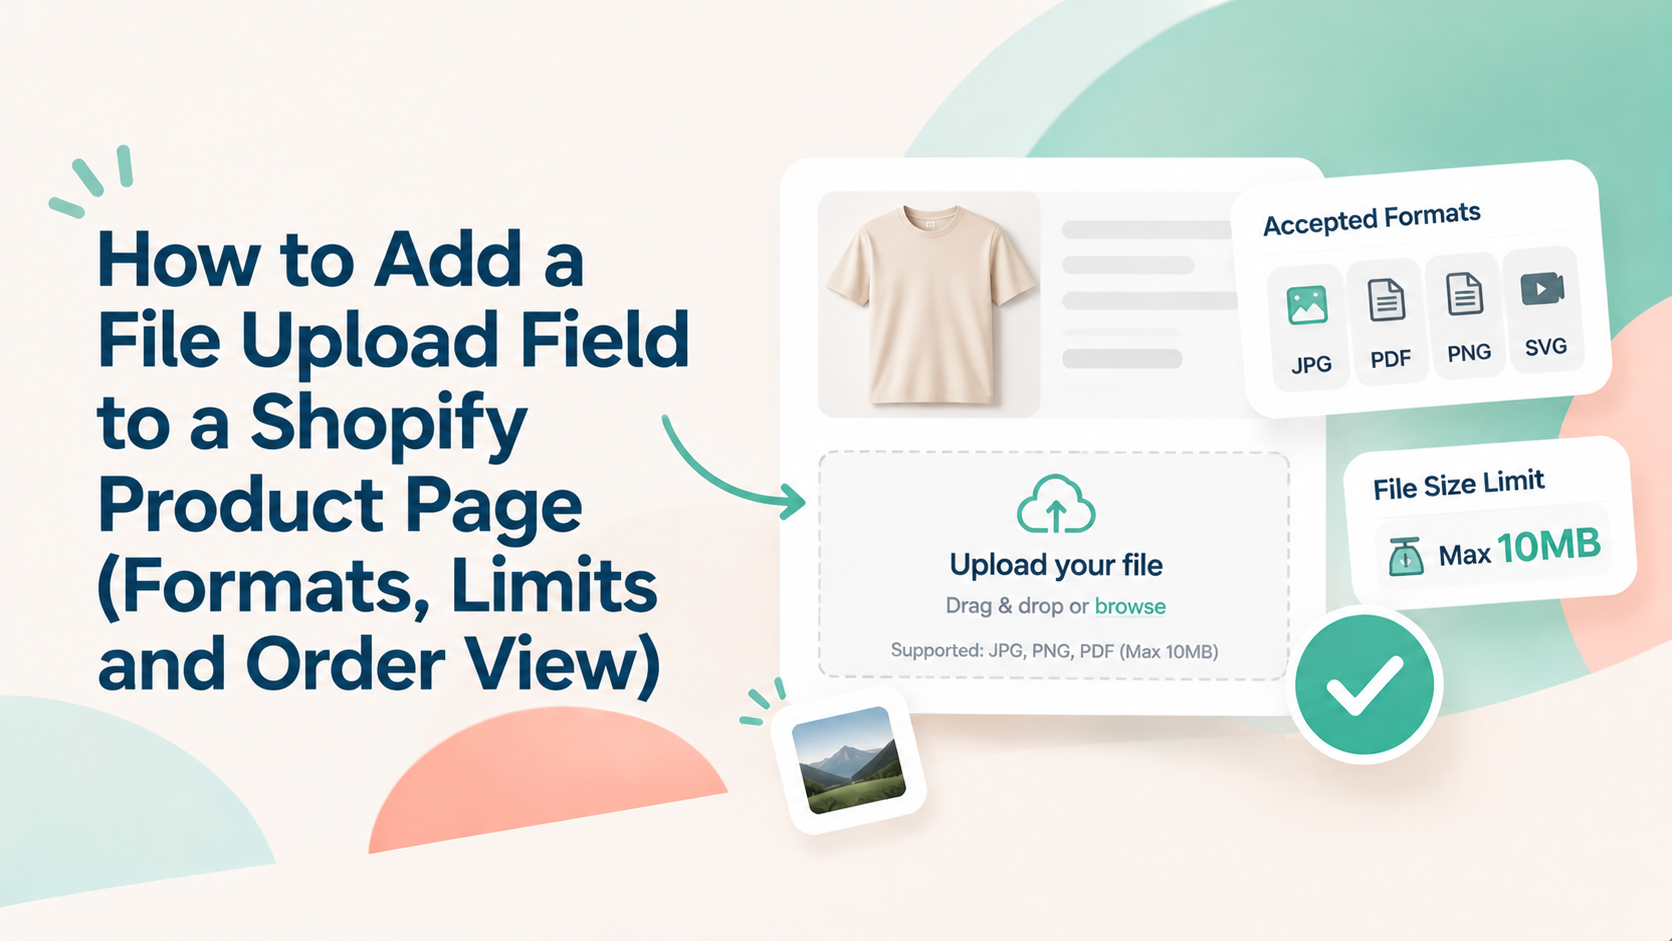
Let Customers Upload Files Directly on Your Shopify Product Page
If you sell personalized gifts, custom apparel or printed products,
customers may need to send you a logo, photo or artwork before you can
fulfil an order.
A Shopify product page does not provide a dedicated custom file-upload
field for every product workflow out of the box. A product options app
can add one, letting customers attach the required file while
configuring their product.
But adding an upload button is only the first step. You also need to
decide:
- Which file formats should customers be allowed to submit?
- How large can each file be?
- Should customers upload one file or several?
- Where will the uploaded file appear after the order is placed?
- How can your team identify the right file when preparing an order?
This guide walks through those practical decisions and shows how to configure a file upload field with Aris Product Options.
When Should You Add a File Upload Field?
A file upload field is useful when a customer needs to provide an asset
that your team will use to personalize, produce or prepare an order.
Common examples:
Logos: Customers upload a company logo for branded merchandise, uniforms or promotional products.
Artwork: Customers submit a design for custom printing, embroidery or engraving.
Photos: Customers provide pictures for photo gifts, prints, calendars or personalized accessories.
Reference files: Customers attach a document or visual reference to explain a custom request.
The key is to collect only the files required for that product. If a
product needs a logo and a reference image, consider separate upload
fields with clear labels rather than one generic field that leaves
customers guessing.
Step 1: Add a File Upload Option to Your Shopify Product
To add a file upload field with Aris Product Options, first create an option set and assign it to the product that needs customer files.
Open Aris Options in your Shopify admin.
Create a new option set or open an existing one.
Select Add Option.
Choose File Upload from the option type list.
Add a clear Label on product, such as "Upload your logo" or "Upload your photo".
Add a Label on cart so the file is identifiable later.
Select the products that should use this option set, then save.
You can also make the upload field required if customers must submit a
file before purchasing.
Practical tip: Write the label as an instruction, not just a field
name. "Upload a high-resolution PNG or JPG logo" gives customers more
useful guidance than "File upload".
Step 2: Choose the File Formats Your Customers Can Upload
The accepted formats should match what your production or fulfilment
team can actually use.
Aris File Upload V2 lets merchants choose a file category or specify
custom extensions. The documented categories include:
File category | Examples listed in the guide | Typical use |
|---|
Images | JPG, PNG, WEBP, GIF, SVG, HEIC | Photos, logos and artwork |
Documents | PDF, DOCX, XLSX, CSV, TXT, AI, PSD | Print files, briefs and design assets |
Audio | MP3, WAV, M4A | Audio-based custom requests |
Video | MP4, MOV, WEBM | Video references or media submissions |
You can also choose All files or define Custom extensions---for
example, allowing only PNG and PDF.
These are examples from the Help Center, not a guarantee that every file
in a category is suitable for every production workflow. The actual
accepted formats should be checked in your app configuration and tested
with representative files.
Which formats should you allow?
Avoid enabling every format simply because the app supports it.
- For a photo-printing product, start with common image formats such as JPG and PNG.
- For a logo or print-ready design, consider whether your team needs SVG, AI, PSD or PDF.
- For a document-based service, allow only the document formats your team can open and process.
A narrower list helps customers understand what to submit and reduces
the chance of receiving files your team cannot use.
Step 3: Set File Size Limits
File size affects the upload experience and the quality of the assets
customers can submit. A limit that is too low may reject high-resolution
artwork, while an unnecessarily high limit can encourage customers to
upload files much larger than your workflow needs.
The Aris File Upload V2 Help Center currently documents these maximum
file sizes:
Plan name shown in the V2 guide | Maximum file size |
|---|
Free / Basic / Pro | Up to 20 MB |
Advanced | Up to 50 MB |
Premium | Up to 100 MB |
The maximum applies to each individual file, not the combined size
of all files when multiple uploads are enabled. The guide also provides
a setting for a minimum file size.
Important plan note: The Help Center groups Free, Basic and Pro
together, while the current Shopify App Store listing presents Free,
Pro, Advanced and Premium plans. The listing identifies File upload as
an app feature and the V2 guide provides the size limits above, but it
does not clearly map every V2 capability to each current plan. Confirm
the exact entitlement and upload limit with the Aris Product Team before
publishing plan-specific promises or upgrading.
Step 4: Configure Multiple Uploads and Image Requirements
Some products need only one file. Others require a collection of images
or several supporting assets.
In the File Upload V2 settings, merchants can enable multiple file uploads and define:
Minimum files: The number of files customers must submit.
Maximum files: The number of files customers are allowed to submit.
Minimum and maximum image dimensions: Pixel constraints for uploaded images.
Image editing settings: Available cropping and editing controls.
For example, a photo book may require at least 10 images, while a custom
T-shirt may need just one logo file.
If image quality matters, set pixel dimensions that match your
production requirements. The Help Center gives 1,000 × 1,000 px as an
example of a minimum size and 4,000 × 4,000 px as an example of a
maximum. These are examples, not universal print-quality rules; choose
dimensions based on the final product size and your production process.
What to test: Try uploading a file below the minimum dimension,
above the maximum dimension and beyond the allowed file count. Check
that customers understand why a file is rejected and what they should do
next.
Step 5: Make the Upload Instructions Clear on the Product Page
A file upload field should answer the customer's questions before they
select a file.
Use the product label and help text to communicate:
- Which asset is required.
- Which file formats are accepted.
- The maximum file size.
- Whether one or multiple files are needed.
- Any image dimensions or quality requirements.
For example:
Upload your logo
Please upload a PNG, JPG, SVG or PDF file. Maximum file size: 20 MB.
For the best print result, use a high-resolution image.
The example above should be adjusted to the actual formats and file
limit configured for the product.
In Aris, the File Upload option includes settings for the product label,
cart label, required field, help text and tooltip. The V2 guide also
documents styling controls for the upload dropzone and modal.
Step 6: Find Uploaded Files in the Cart and Shopify Order Admin
This is one of the most important parts of a file-upload workflow: your
team must be able to find the customer's file after the purchase.
According to the Aris Help Center, uploaded file download links are saved in the order's line item properties. The documentation identifies three places where they can be viewed:
Cart page: Review the uploaded file alongside the relevant product before checkout.
Checkout: The file information is included in the checkout flow.
Shopify Order Admin: Open the order and review the line item properties to find the uploaded file link.
The Help Center also illustrates the file information in the cart and
order views.
Suggested image placement: Show the actual Shopify Order Admin view
with the uploaded file link visible beside the relevant product line
item. Use a demo order and hide customer information.
Why the cart label matters
The Label on cart setting helps identify what a file represents
after it has been uploaded.
For example, if a customer orders two customized products, labels such
as "Front logo" and "Back artwork" are more useful than two generic
entries named "Upload file".
Before launching, place a test order and check that:
- The file link is associated with the correct product.
- The label makes the file's purpose clear.
- Your team can open or download the file from the order.
- The file remains identifiable when an order contains multiple customized items.
Do not assume that seeing a thumbnail on the product page is enough.
Test the complete journey from upload to order processing.
Common File Upload Mistakes to Avoid
A file upload field can work technically but still create unnecessary
work for customers or your fulfilment team.
Watch out for these mistakes:
Accepting too many formats: Customers may submit files your team cannot open or use.
Setting an unsuitable size limit: A low limit may reject production-ready artwork; a high limit may be unnecessary.
Using vague instructions: "Upload file" does not tell customers which asset or format is required.
Forgetting the order view: A successful upload is not useful if staff cannot identify the file when processing the order.
Skipping mobile testing: Check the upload flow on a phone, not only on desktop.
A Quick Test Before You Publish
Before enabling the field on a live product, run a test order using the
same process a customer would follow.
Test | What to check |
|---|
Upload a valid file | The selected format and size are accepted |
Upload an invalid file | The customer receives clear guidance |
Test the file-size limit | Files above the configured maximum are handled correctly |
Upload multiple files | Minimum and maximum file counts work as intended |
Place a test order | File links appear in the cart and order details |
Review on mobile | The upload field is easy to use on a smaller screen |
This is a practical storefront check, not a substitute for testing every
file type and production workflow your store supports.
Frequently Asked Questions
Can I add a file upload field to a Shopify product page?
Yes. You can use a product options app such as Aris Product Options to
add a file upload field to selected Shopify products and collect
customer assets as part of the purchase.
Which file formats can customers upload?
Aris File Upload V2 documents image, document, audio and video
categories, as well as custom file extensions. Examples include JPG,
PNG, SVG, PDF, DOCX, MP3 and MP4. The formats available to customers
depend on the settings you configure.
What is the maximum file size for Shopify product uploads?
The Aris V2 Help Center lists up to 20 MB for Free / Basic / Pro, 50 MB
for Advanced and 100 MB for Premium. Confirm the current plan mapping
with Aris before relying on these limits.
Where can I find customer-uploaded files in Shopify?
The Aris Help Center says file download links are saved in order line
item properties and can be viewed in the cart, checkout and Shopify
Order Admin.
Can customers upload more than one file?
Yes. Aris File Upload V2 documents multiple-file uploads, with settings
for minimum and maximum file counts. Confirm plan availability for the
exact V2 features you intend to use.
Collect the Right Files Before You Fulfil the Order
A good file upload setup does more than let customers attach an image.
It sets clear expectations, accepts the formats your team needs, applies
practical size limits and keeps each upload connected to the right
order.
Start with one product and define its file requirements. Configure the
accepted extensions, size and file count, explain the requirements on
the product page, and place a test order to confirm that your team can
retrieve the files in Shopify Order Admin.
If you need a file upload field alongside other product customization
options, explore
Aris Product
Options and its
File
Upload V2 setup
guide.